At Bedford Fine Art Gallery, we recognize that masterpieces extend beyond canvas and are embedded in our architectural heritage. A Victorian home serves as a living gallery, with original timber sash windows framing your view of the world, and restoring Victorian porches adds to its charm.
Modern replacements may provide a quick solution, but they often compromise a historic home's character, diminish its architectural integrity, and erase centuries of craftsmanship. The smooth operation of a well-balanced 19th-century window offers a tangible link to the past.
If your double-hung sash windows rattle, are painted shut, or fall abruptly, restoring your Victorian windows is not necessary. They simply require restoration. This guide outlines the basics of repairing ropes, weights, and glazing.
The Anatomy of a Sash Window
Before beginning repairs, it is important to understand the mechanics within your window frames. Traditional double-hung windows operate using a system of counterweights.
- The Sashes: The moving frames that hold the glass (the lower and upper sashes).
- The Cords and Pulleys: Cotton ropes (sash cords) attach to the sides of the sashes, run up over cast-iron pulleys at the top of the frame, and drop down into hollow cavities in the wall.
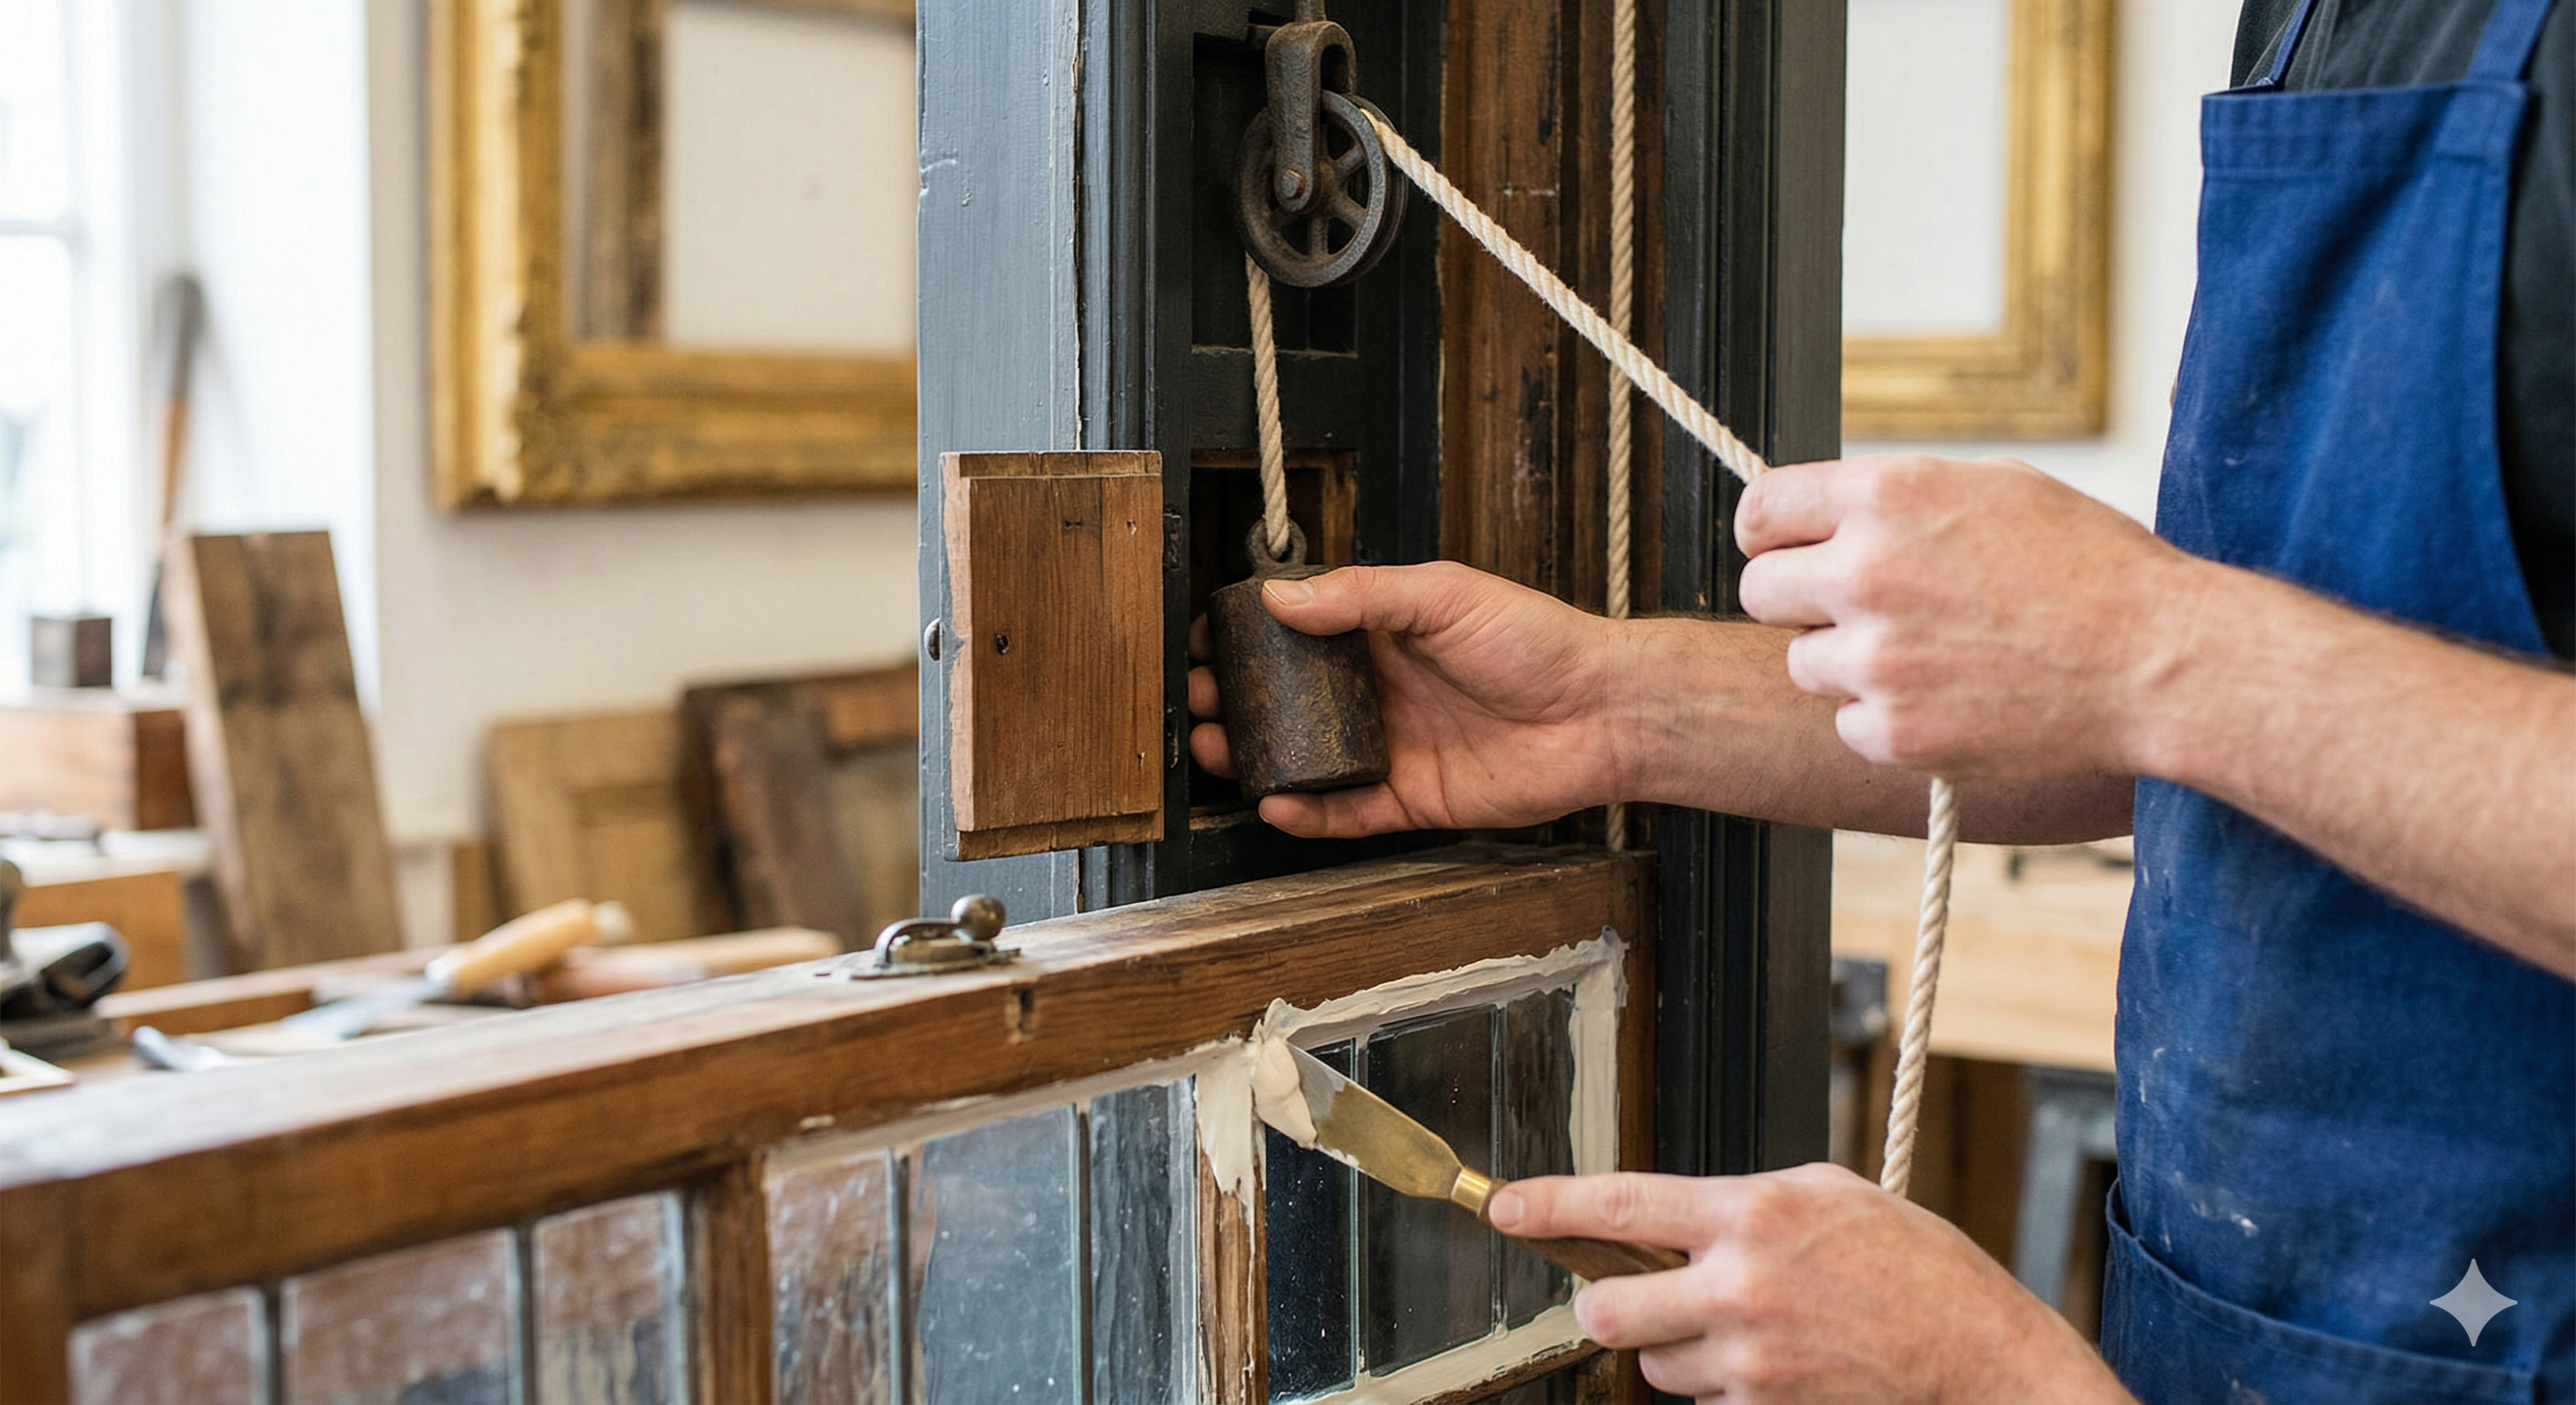
- The Weights: Lead or cast-iron cylinders attached to the hidden ends of the cords. Each weight equals half the sash's weight, allowing the window to operate smoothly.
- The Pocket Covers: Small, removable wooden panels hidden in the lower window tracks that give you access to the weights.
Part I: Restoring the Balance (Replacing Ropes and Weights)
If a window will not stay open, the sash cord is likely broken. Replacing it requires dismantling the window, but the process is rewarding.
1. Remove the Sashes: Carefully remove the interior trim (staff beads) securing the lower sash. Tilt the lower sash out of the frame. If the cords remain intact, detach them from the sash and tie a knot to prevent them from slipping into the pulleys. To remove the upper sash, pry out the parting bead, which separates the two sliding tracks.
2. Access the Weight: Access the Weight Pockets. Inspect the lower section of the window track (jamb) for a small rectangular cut-out. Remove the screw or nail securing the pocket cover and pull it out. Retrieve the iron weights and any remnants of broken ropes. Always use traditional woven cotton sash cord (often reinforced with a nylon core today for longevity). Feed a small piece of string attached to a weight (like a small nail) over the top pulley, then drop it into the pocket. Tie your new sash cord to this string and pull it through.
4. Tie and Balance: Secure the new cord through the eye of the iron weight and return it to the pocket. Pull the cord taut, measure and cut it to length, then knot the end and fit it into the sash's grooved slot. Fasten with a rust-resistant tack. Reassemble the sashes and trim.
Part II: The Art of Glazing (Replacing Putty and Glass)
Victorian glass is notable for its subtle ripples and air bubbles, features that modern float glass cannot replicate. Preserving original glass is essential, though the putty securing it often deteriorates over time.
1. Removing the Old Putty: Patience is essential. Do not attempt to chip away hardened putty with a dry chisel, as this may damage the glass. Use an infrared heater or low-temperature heat gun to gently soften the glazing compound. Protect the glass from direct heat with sheet metal. Once softened, carefully remove the old putty.
2. Extracting the Glass: After removing the putty, locate the metal glazing points securing the glass. Remove them with pliers and lift out the glass pane. Scrape the wooden rebates to bare wood and apply an oil-based primer to prevent the new putty from drying out prematurely.
3. Setting the Glass: Knead traditional linseed oil glazing putty until pliable. Apply a thin bead of putty to the wooden rebate and gently press the glass into place, bedding it for a weather-tight seal. Secure the glass with new glazing points spaced every few inches.
4. Tooling the Putty: Roll out a rope of putty and press it around the glass perimeter. Use a stiff putty knife to smooth it at an angle, creating a neat bevel that matches the interior wood profile and directs rain away.
5. Curing and Painting: Allow traditional linseed putty to cure for several weeks until a firm skin forms. When painting, overlap the paint onto the glass by approximately 1/16 inch to create a final weather seal.
A Labor of Love
Restoring a sash window is not a task to be rushed. Like restoring a 19th-century oil painting, it requires respect for the original craftsmanship and the carpenters who built it over a century ago.
By choosing to repair rather than replace, you are not only maintaining your home but also preserving a piece of history.