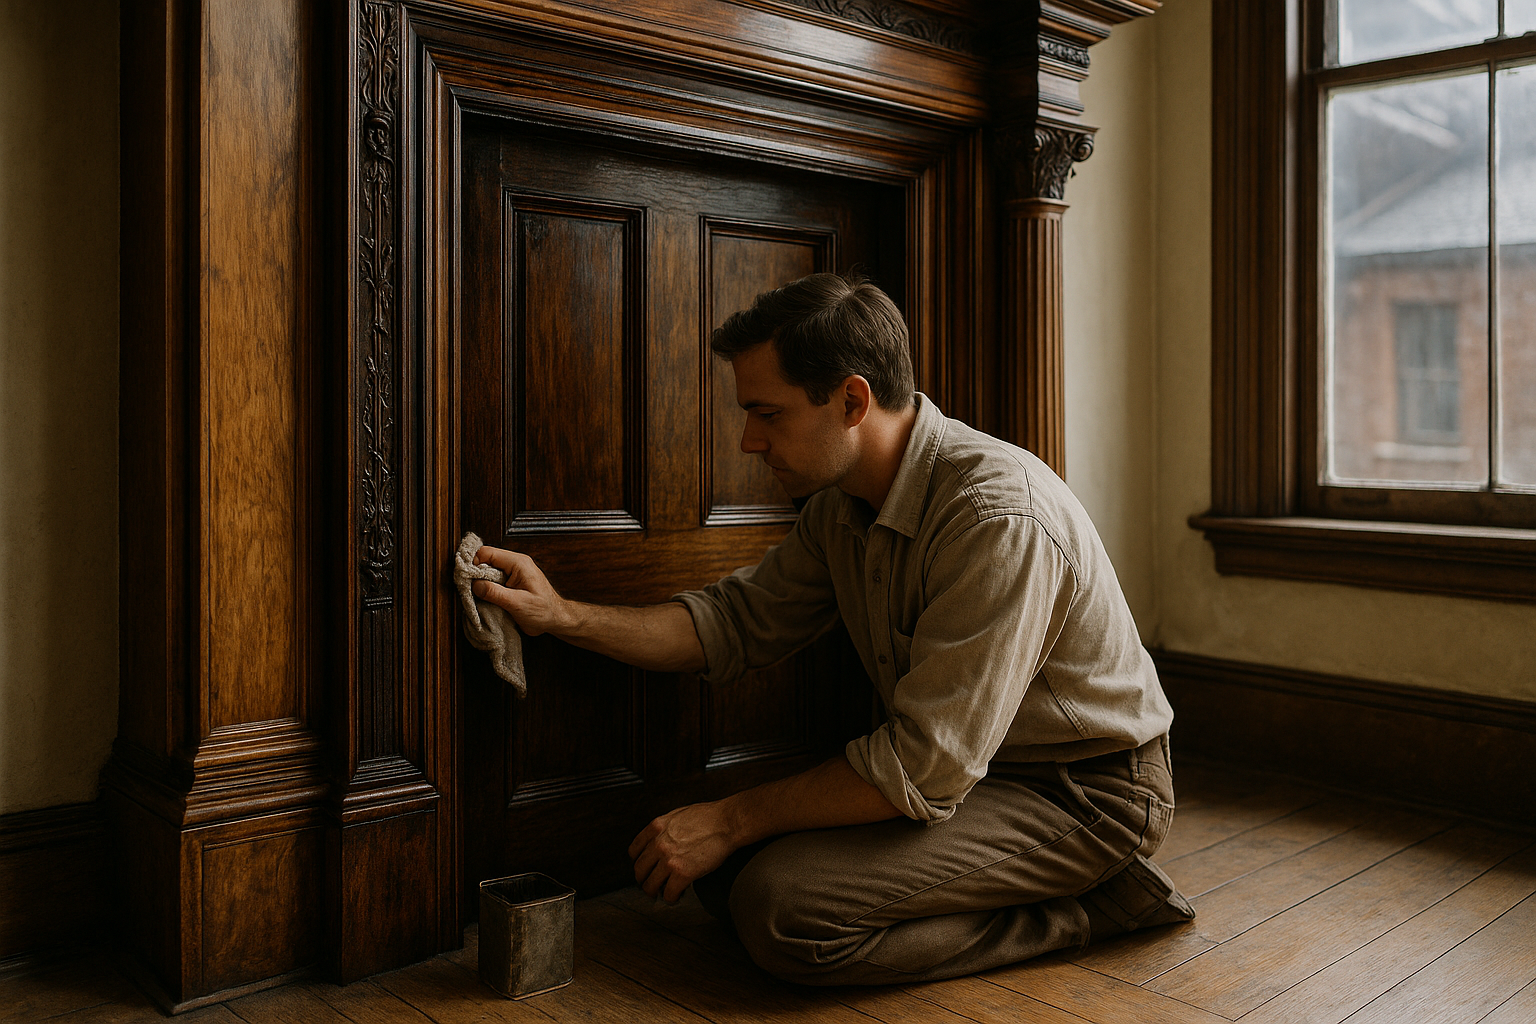
Tips on Restoring Woodwork and Trim in Your Victorian House
Victorian houses are beloved for their rich character, ornate details, and timeless craftsmanship. Among the most striking features are the intricate woodwork and trim—crown moldings, baseboards, door casings, and wainscoting—that add warmth and history to these classic homes. But after decades of wear, paint layers, or neglect, these features often need some TLC. Restoring them can be a labor of love, but the results are well worth it. For more detailed guidance, learn how to restore original Victorian woodwork.
Here are some practical tips to help you bring your Victorian woodwork back to life:
1. Assess Before You Strip
Before diving in with a heat gun or paint stripper, take time to assess the condition of the woodwork. Determine what’s original, what might have been added later, and whether any sections are damaged or missing. Look for signs of rot, insect damage, or excessive paint buildup that may obscure fine detail.
Pro tip: Carefully pry off a small piece of trim from an inconspicuous area to see the layers of paint and what lies beneath.
2. Use the Right Stripping Method
Victorian trim often has detailed carvings and moldings that can be easily damaged by aggressive techniques. Choose your paint stripping method based on the condition and intricacy of the wood:
- Citrus-based gel strippers: Gentler and ideal for detailed areas.
- Heat guns or infrared paint removers: Effective for softening layers, but must be used carefully to avoid scorching.
- Steam boxes: Useful for removing entire painted sections like doors or panels.
Always test your method on a small area first.
3. Preserve, Don’t Replace
Whenever possible, preserve original wood rather than replacing it. Even if it’s cracked, gouged, or split, Victorian-era wood is often of a higher quality than modern equivalents. Use wood consolidants or epoxy fillers to strengthen and repair damaged sections.
If replacement is unavoidable, salvage yards or architectural reuse centers can be a goldmine for matching vintage trim.
4. Mind the Details
Victorian woodwork shines in its detail, so take your time restoring those elements. Use dental tools, soft brass brushes, and fine steel wool to get into crevices. For missing carved pieces, consider hiring a skilled woodworker or using custom molds to recreate them.
Tip: Photograph or sketch patterns before starting your work to ensure accurate restoration.
5. Sand Thoughtfully
After stripping, lightly sand the surface to smooth it out and prepare for refinishing—but go easy. Over-sanding can erase delicate details and round out crisp edges. Use fine-grit sandpaper (150–220 grit) and sanding sponges for better control.
6. Choose an Authentic Finish
Once the wood is stripped and repaired, choose a finish that respects the home’s historical period: consider exploring historic paint colors and finishes.
- Shellac was commonly used in the Victorian era and gives a warm amber glow.
- Oil-based varnish provides a tougher finish for high-traffic areas.
- Stains can enhance grain while preserving the wood’s natural look.
If painting is your choice, opt for rich, historically accurate colors like deep greens, burgundy, or cream, and use a satin or semi-gloss finish for depth and elegance.
7. Keep it Consistent
Restoring Victorian woodwork is as much about cohesion as it is about preservation. Match trims across rooms where possible, and ensure your work blends seamlessly into the home’s existing aesthetic. Take note of where transitions happen—doorways, stairwells, and windows often have unique trim profiles.
8. Don’t Rush the Process
Restoration takes time. It's okay to tackle one room at a time or even one element (like baseboards or door casings). For insights on what you can DIY, consider your options carefully. Victorian homes weren’t built in a day, and your careful work will reward you with beauty that lasts for decades more.
Final Thoughts
Restoring the woodwork and trim in your Victorian home is a meaningful way to honor its history and elevate its beauty, much like restoring Victorian houses. Whether you’re uncovering original details buried under a century of paint or reviving faded finishes, the process connects you to the craftsmanship of the past. So take your time, use the right tools, and enjoy bringing your home’s story back to life—one intricate molding at a time.