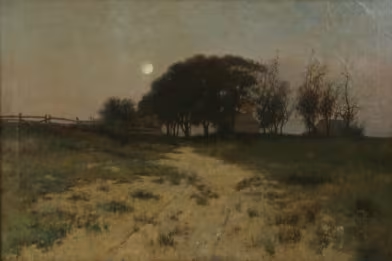
There is an undeniable romance to owning a Victorian home. From the sweeping wrap-around porches and intricate gingerbread trim to the stately turrets and stained-glass transoms, these homes are living masterpieces. But when you purchase a home in a designated historic district, you aren’t just buying a piece of property—you are stepping into the role of a custodian.
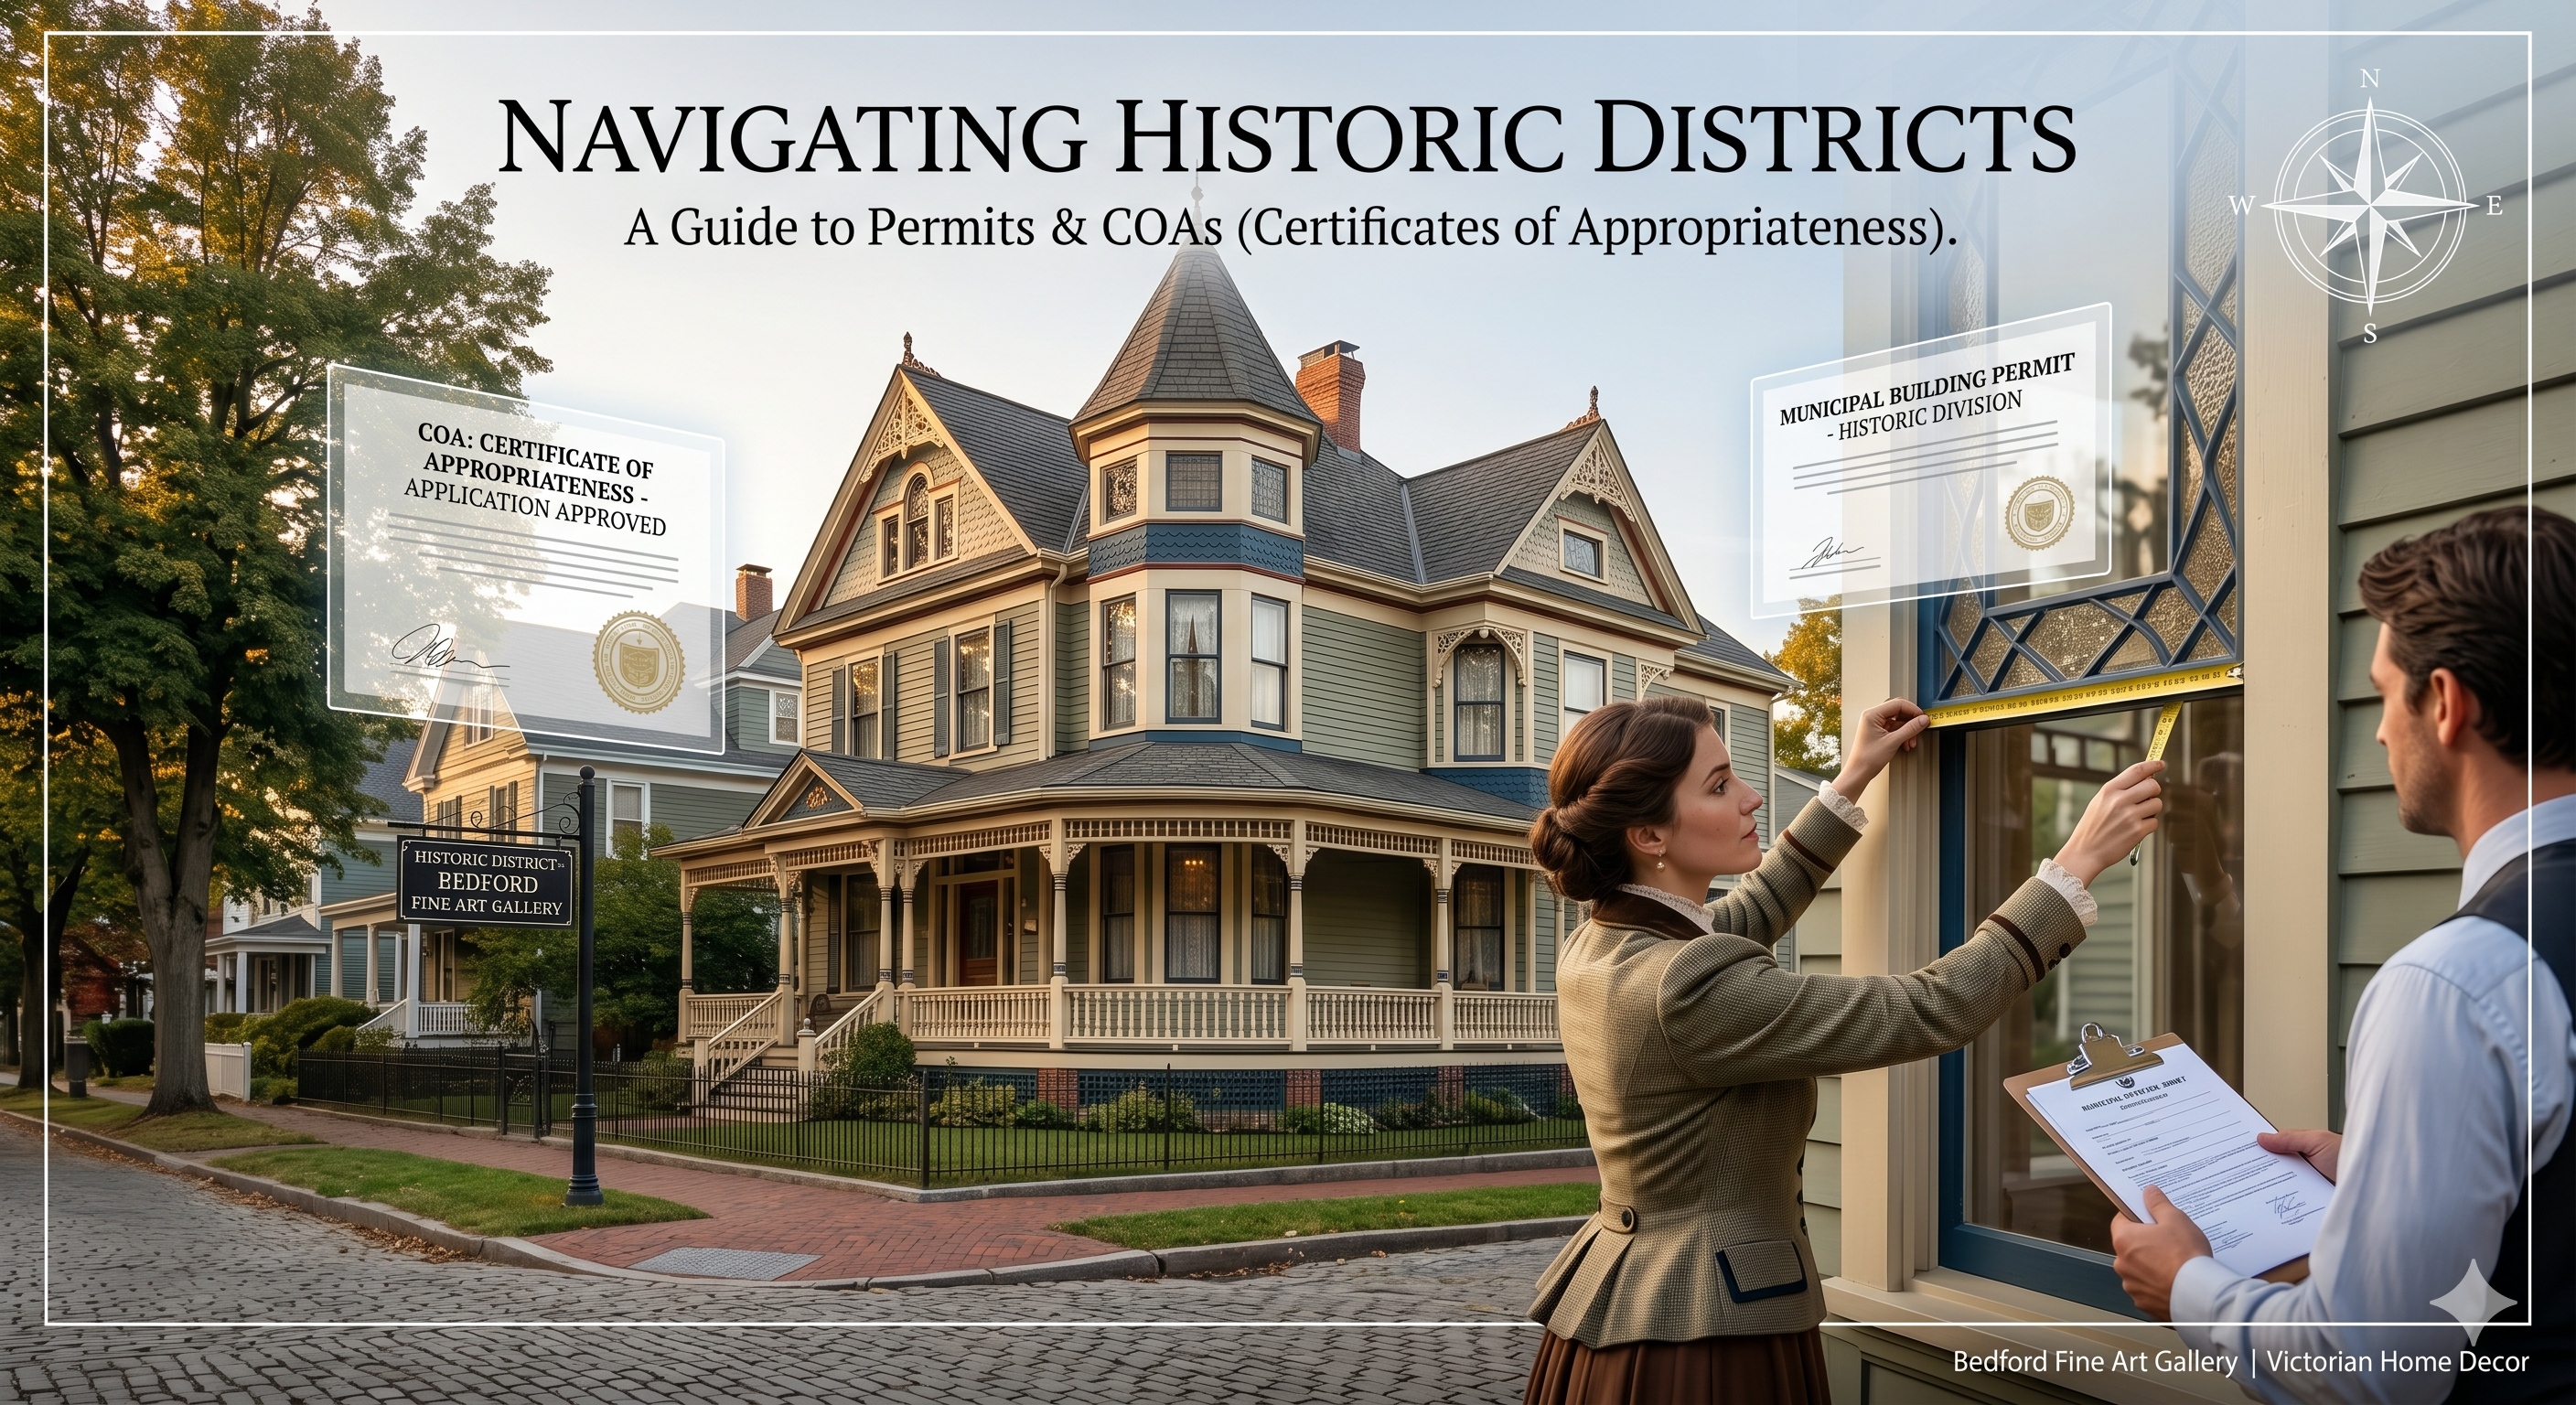
Living in a historic district ensures that the 19th-century charm you fell in love with is protected for generations to come, which is why it’s important to know what to consider when buying a historic home. However, it also means that your renovation and restoration plans will likely require a bit more paperwork than a standard home. If you are preparing to update the exterior of your Victorian treasure, you will need to become intimately familiar with permits and the all-important Certificate of Appropriateness (COA).
Here is your comprehensive guide to navigating the rules of historic districts so you can preserve your home’s legacy with confidence.
Decoding the Jargon: Building Permits vs. COAs
Before diving into a project, it is essential to understand the difference between a standard building permit and a Certificate of Appropriateness.
- Building Permits: Issued by your local municipality’s building department, these ensure that your project complies with local zoning, safety, and structural codes. Whether your home is historic or brand new, you need these for most major work.
- Certificate of Appropriateness (COA): Issued by your local Historic Preservation Commission (HPC), a COA is a document stating that the work you plan to do is "appropriate" for the historic character of your home and the surrounding district.
In most historic districts, you cannot obtain a building permit for exterior work without first securing a COA.
When Do You Actually Need a COA?
While every municipality has its own specific ordinances, a general rule of thumb is this: If a change affects the exterior appearance of your home and is visible from a public right-of-way, you probably need a COA.
Common projects that require a COA include:
- Window Replacements or Alterations: Historic commissions are notoriously strict about windows. Swapping original wavy-glass wood windows for modern vinyl is almost always prohibited.
- Roofing Materials: Changing your roof from slate or cedar shake to standard asphalt shingles usually requires review.
- Exterior Paint Colors: Some districts have a pre-approved historic color palette, while others simply require that you submit your chosen Victorian-era hues for approval before you pick up a brush.
- Architectural Details: Removing, altering, or adding features like porch spindles, brackets, corbels, or original siding.
- Additions and Fences: Building an extension, adding a detached garage, or erecting a new fence that affects the streetscape.
Note: Routine maintenance and exact, in-kind repairs (like replacing a rotten piece of wood siding with an identical piece of wood siding) often do not require a full COA, though it is always best to check first.
A Step-by-Step Guide to the COA Process
Getting a COA might sound daunting, but it is a straightforward process if you approach it methodically, especially when you understand the historic home codes.
1. Do Your Homework Start by reading your local historic district guidelines. These documents are usually available on your city’s website and outline exactly what is and isn't allowed. Understanding the architectural style of your home—whether it’s Queen Anne, Second Empire, or Italianate—will help you make historically accurate choices.
2. Consult the Preservation Officer Before you finalize blueprints or hire contractors, set up a meeting with your town’s Historic Preservation Officer (HPO). Consider them your project ally. If you explain your goals, they can guide you toward approvable materials and steer you away from costly mistakes.
3. Submit a Thorough Application When you apply for a COA, you need to prove to the commission exactly what the finished project will look like. A strong application includes:
- Current, clear photographs of the home.
- Historical photographs (if available) showing original details.
- Architectural drawings or mock-ups of the proposed changes.
- Physical samples or detailed specifications of the materials to be used (e.g., paint chips, wood samples, catalog cut-sheets for lighting fixtures).
4. Attend the Commission Hearing Most COAs are reviewed during a public meeting of the Historic Preservation Commission. You or your contractor will present your project. Because you consulted the HPO and followed the guidelines, this step is often a friendly formality where the commission asks a few clarifying questions before putting it to a vote.
Pro-Tips for a Seamless Experience
- Hire the Right Team: Work with architects and contractors who have specific experience in historic preservation. They will already know what the commission expects and can often advocate on your behalf.
- Patience is Key: The COA process adds time to your project timeline. HPCs typically only meet once a month, so factor this into your renovation schedule to avoid frustration.
- Embrace the "Why": Remember that the commission isn't there to make your life difficult; they are there to protect the architectural integrity that made you fall in love with your Victorian home in the first place.
The Reward of Preservation
Navigating the red tape of historic districts takes a little extra effort, but the reward is immeasurable. By carefully preserving the exterior shell of your historic home, you honor the craftsmanship of the past.
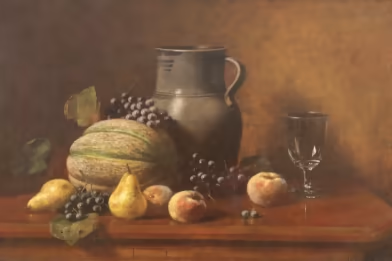
And once the scaffolding comes down and the exterior is perfectly restored, the real fun begins: moving inside. Just as your home’s facade deserves historically appropriate care, your interior deserves to be adorned with pieces that reflect the grandeur of the 19th century. When you are ready to bring the beauty of the Victorian era indoors, we invite you to explore Bedford Fine Art Gallery’s exquisite collection of 19th-century fine art—the perfect finishing touch to your historic masterpiece.